Hey all a few of my close psp friends and I have started a new forum and would love for you to come be a part of it! Due to some Haters I wont post the link to the forum but just send me an email at marta at q dot com..... and I will send you the link!!!
Hope to see you there!!!
Hugs
Marta
Monday, May 17, 2010
Thursday, January 28, 2010
♥ Violette ♥

Click the tag to preview at full size. This tutorial was written by Marta on January 28, 2010. Any resemblance to any other tutorial is coincidental. Do not copy and paste this tutorial elsewhere on the net. Absolutely NO Scripting and/or translating of this tutorial.
For this tutorial you will need:
PSP
Tube/Image of choice
Font of choice (I used JackieO)
ScrapKit *Violette* by Marie at Sky Scraps Designs.
You can purchase it HERE.
♥ Special Note: If you purchase this kit, 100% of the money will go directly to UNICEF France for HAITI. ♥
I am using the artwork of Jennifer Janesko, you can find her licensed art at CILM.
Let's get started:
Open a new image 600x600 and background set to white.
Copy & paste Bling4 as a new layer and resize. Copy & paste Doodle1 as a new layer and resize.
Copy & paste Frame11 as a new layer. Using your magic wand, click inside each part of the frame, Selections/Expand by 5. Copy & paste paper of your choice, or copy & paste an tube or image of your choice, Selections/Invert and hit delete on your paper, tube, or image layer. Select none. Add drop shadow to your frame and tube layer if you used a tube.
Copy & paste Element18 as a new layer and resize. Place to the left of the frame. Add drop shadow.
Copy & paste Element17 as a new layer and resize. Place to the right of the frame. Add drop shadow.
Add any additional elements of your choice.
Crop or resize to your liking. Add your text, copyright info, and watermark, and save as a jpg, png, or gif file.
That's it.. all done!
Friday, January 8, 2010

Monday, January 4, 2010
♥ Blue Angel ♥

Click the tag to preview at full size. This tutorial was written by Marta on January 04, 2010. Any resemblance to any other tutorial is coincidental. Do not copy and paste this tutorial elsewhere on the net. Absolutely NO Scripting and/or translating of this tutorial.
For this tutorial you will need:
PSP
Tube of choice
Font of choice (I used Love, Inspiration, Romance Fatal Serif)
Mask of choice
ScrapKit *Colours of Joy* by Wilma at Wilma4Ever.
You can purchase it HERE.
I am using the artwork of Elias Chatzoudis, you can find his licensed art at MPT.
Let's get started:
Open a new image 600x600 and background set to white. Copy & paste Paper13 as a new layer. Open your mask of choice, Layers/New Mask Layer/From Image and find the mask in the drop down list. Delete mask layer, and merge group.
Copy & paste frame7 as a new layer. Copy & paste paper5 as a new layer and move under the frame layer. Using your magic wand, click inside the frame, Selections/Modify/Expand by 5, and hit delete on the paper layer. Add drop shadow to frame layer.
Copy & paste your tube of choice. Duplicate. On the original tube layer, Image/Resize/120% and move under the left part of the frame. Position to your liking. Erase any parts outside of the frame. Lower opacity to 59%. Position your duplicate tube in front of the right side of the frame, and add drop shadow.
Copy & paste Bow12 as a new layer, Image/Resize/35% and move to the upper right of the frame. Add drop shadow.
Copy & paste Flower11 as a newl layer, Image/Resize/35% and move to the lower left of the frame. Add drop shadow.
Add doodles of your choice and place at the right side of the frame.
Add any additional elements of your choice.
Crop or resize to your liking. Add your text, copyright info, and watermark, and save as a jpg, png, or gif file.
That's it.. all done!
Friday, January 1, 2010

Wednesday, December 30, 2009
Thursday, December 24, 2009
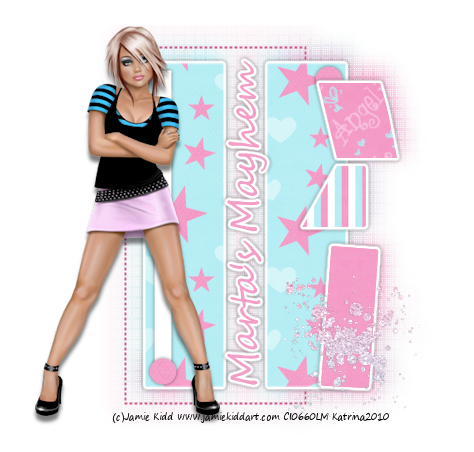
TAG OFFER ♥ I'm A Starr ♥

Click the tag to preview at full size.
If you would like this tag, please email me HERE. Please put "I'm A Starr" in the subject line when requesting. Thank you!
I'm using the ScrapKit *BFFL* by Amy of Amy's Scrap Place. You can purchase it HERE.
I am using my Template #11.
I am using the artwork of Jamie Kidd, you can find his licensed art at CILM.
Subscribe to:
Posts (Atom)