 Click the tag to preview at full size
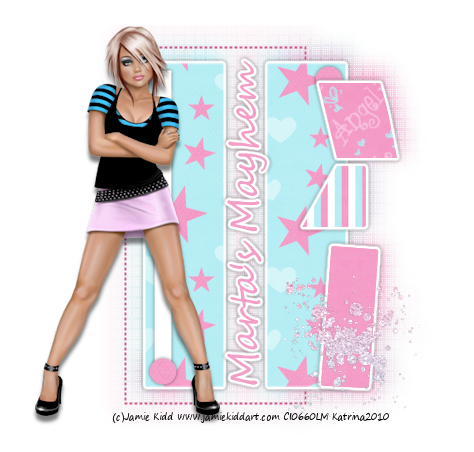
. This tutorial was written by Marta on August 26, 2009. Any resemblance to any other tutorial is coincidental. Do not copy and paste this tutorial elsewhere on the net. Absolutely NO Scripting and/or translating of this tutorial.
For this tutorial you will need:
PSP
Tube of choice
Font of choice (I used Bank Gothic)
Mask - UFMask48 - You can download
HERE.
Template - Ali's Template 161 - You can download
HERE.
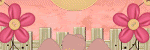
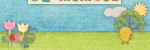
ScrapKit *Mediterranean Dawn* by Ishona of Athena Designs.
You can purchase it
HERE.
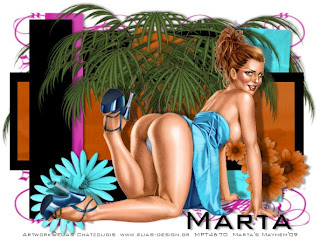
I am using the artwork of Elias Chatzoudis, you can find his licensed art at
MPT.
Let's get started:
Open Ali's Template161, Shift + D, and close out the original. Open new raster layer and floodfill with white and move to the bottom. Copy & paste Paper16TS as a new layer. Open UFMask48, Layers/New Mask Layer/From Image and find the mask in the drop down list. Delete mask layer, and merge group. Move above the white background.
Click on the raster2 layer, Selections/Float/Defloat/Modify/Smooth by 10, copy paper17TS and paste into selection.
Click on the raster1 layer, Selections/Float/Defloat/Modify/Smooth by 10, and floodfill with #000000.
Click on the raster7 layer, Selections/Float/Defloat/Modify/Smooth by 10, and paste into selection.
Click on the raster3 layer, Selections/Float/Defloat/Modify/Smooth by 10, copy paper16TS and paste into selection.
Click on the raster5 layer, Selections/Float/Defloat/Modify/Smooth by 10, copy paper17TS and paste into selection.
Copy & paste palm1TS as a new layer, and place in the center of your canvas.
Add any additional flowers, bows, leaves, birds, clips, or elements of your choice.
Crop or resize to your liking. Add your text, copyright info, and watermark, and save as a jpg, png, or gif file.
That's it.. all done!