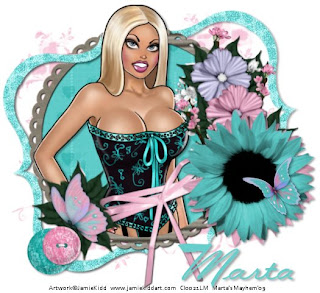
Click the tag to preview at full size. This tutorial was written by Marta on February 11, 2009. Any resemblance to any other tutorial is coincidental. Do not copy and paste this tutorial elsewhere on the net. Absolutely NO Scripting and/or translating of this tutorial.
For this tutorial you will need:
PSP
Tube of choice
Font of choice (I used FleurFordSH)
Mask - gabeemask50 - You can download HERE.
DSB Flux - Bright Noise
ScrapKit *Cute As A Button* by Tammy of Scraps With Attitude.
You can purchase it HERE.
I am using the artwork of Jamie Kidd, you can find his licensed art at CILM.
Let's get started:
Open a new image 550x550 and background set to white. Copy & paste paper6 as a new layer. Open gabeemask50, Layers/New Mask Layer/From Image and find the mask in the drop down list. Delete mask layer, and merge group.
Copy & paste paper7 as a new layer. Copy & paste your tube as a new layer. Copy & paste frame3 as a new layer. Using your Magic Wand, click inside the frame, Selections/Modify/Expand by 5/Selections/Invert, and hit Delete on your tube and paper layers. Add drop shadow to the frame and tube layers.
Open bracket3 and using your Selection Tool, set on rectangle, draw a rectangle to include 1/2 of the bracket, and hit Delete on your keyboard. Now you should have 1/2 of the bracket only. Copy & paste the bracket as a new layer. Resize as needed. Image/Rotate/Left 13 degrees. Duplicate. Image/Mirror/Image/Flip. Add drop shadow to both brackets. Effects/DSB Flux/Bright Noise/Set Intensity to 42 & Direction/Mix.
Add any additional bows, buttons, ribbons, flowers, butterflies, or elements of your choice.
Crop or resize to your liking. Add your text, copyright info, and watermark, and save as a jpg, png, or gif file.
That's it.. all done!

No comments:
Post a Comment