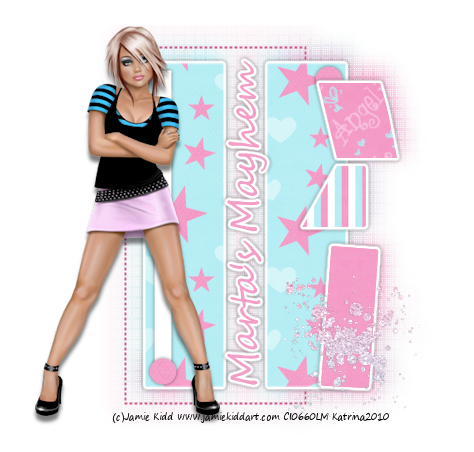
Click the tag to preview at full size. This tutorial was written by Marta on February 6, 2009. Any resemblance to any other tutorial is coincidental. Do not copy and paste this tutorial elsewhere on the net. Absolutely NO Scripting and/or translating of this tutorial.
For this tutorial you will need:
PSP
Tube of choice
Font of choice (I used Zephyr)
Mask - Vix_Mask_Valentine2 - You can download HERE
Mega Colab Kit *I Heart You* by Rachel of Captivated Visions and Deanna's Dreams.
You can purchase it HERE.
I am using the artwork of Edward Reed, you can find his licensed art at CILM.
Let's get started:
Open a new image 500x500 and background set to white. Copy & paste paper10 as a new layer. Open Vix_Mask_Valentine2, Layers/New Mask Layer/From Image and find the mask in the drop down list. Delete mask layer, and merge group.
Copy & paste frame5, resize by 50%, Image/Mirror. Adjust/Hue and Saturation/Colorize/Set to H - 0, S - 0. Adjust/Brightness and Contrast/Brightness/Contrast/Set to B/-92, C/-29. Duplicate three more times until you get a total of 4 frames. For placement, see my tag for reference. Using your Magic Wand, while holding down the shift key, click inside each frame. Selections/Modify/Expand by 5. Open a new raster layer and move under the frame layers, Floodfill with white or a color of your choice. Copy & paste your tubes and move under the frame layers and above the floodfill layer, when happy, hit Delete on your tube layers. Select none. On your tube layers, Adjust/Hue and Saturation/Colorize/Set to H - 0, S - 0. Add drop shadow to your tubes and frames. Merge all your frames, tubes, and floodfill layers.
Copy & paste your main tube and add a thick drop shadow.
Add any additional bows, butterflies, hearts,, or elements of your choice.
Crop or resize to your liking. Add your text, copyright info, and watermark, and save as a jpg, png, or gif file.
That's it.. all done!

No comments:
Post a Comment