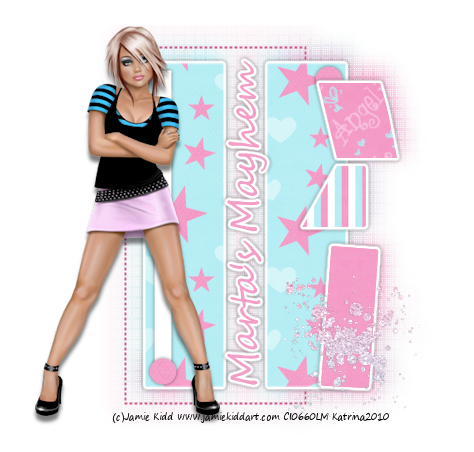

Click the tag to preview at full size. This tutorial was written by Marta on February 17, 2009. Any resemblance to any other tutorial is coincidental. Do not copy and paste this tutorial elsewhere on the net. Absolutely NO Scripting and/or translating of this tutorial.
For this tutorial you will need:
PSP
Tubes of choice
Font of choice (I used Plus de Vagues NF)
EC5 Impact - Perspective Shadow
Mura's Meister - Copies
mysticincdesigntemplate2 by Debbie of Mystic Inc Design, download HERE
ScrapKit *Peach n'Cream* by Tina of Saphira's World.
You can purchase it HERE.
I am using the artwork of Jennifer Janesko, you can find her licensed art at CILM.
Let's get started:
Open up the template, Shift + D to duplicate. Close the original. Image/Canvas Size/Change size to 550x550, placement Center. New raster layer and fill with #FFFFFF, move this layer to the bottom, and delete the copyright layer.
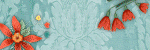
Copy & paste flower5 as a new layer. Add drop shadow. Effects/Mura's Meister/Copies/Set to Encircle/Set Number to 8, ShiftX to 60, and ShiftY to 50. Leave all other settings.
Copy & paste paper1 as a new layer. Image/Rotate/Left 90 degrees. Click on the large rectangle, Selections/Float/De Float/Modify/Smooth/Set both to 10/Invert and hit Delete on the paper1 layer. Delete the original large rectangle. Copy & paste paper7 as a new layer. Copy & paste your tube as a new layer, Image/Mirror and position on the last rectangle. Click on the triple rectangles, Selections/Float/De Float/Modify/Smooth/Set both to 10/Invert and hit Delete on your paper and tube layers. Delete the original triple rectangles. Effects/EC5-Impact/Perspective Shadow/Settings/Drop Shadow Lowest on both layers. Working on your tube layer, Adjust/Hue and Saturation/Colorize/Set to H/18, S/98 and lower the opacity to 69%.
Copy & paste bow1 as a new layer and move to the center of the triple rectangles. Copy & paste label2 as a new layer and move to the bottom of the triple rectangles. Copy & paste the hatbox as a new layer and move to the bottom middle of the triple rectanges. Copy & paste your tube as a new layer and move to the left side of the triple rectangles. Add drop shadow to all layers.
Add any additional ribbons, buttons, flowers, butterflies, stars, staples, or elements of your choice.
Crop or resize to your liking. Add your text, copyright info, and watermark, and save as a jpg, png, or gif file.
That's it.. all done!


No comments:
Post a Comment