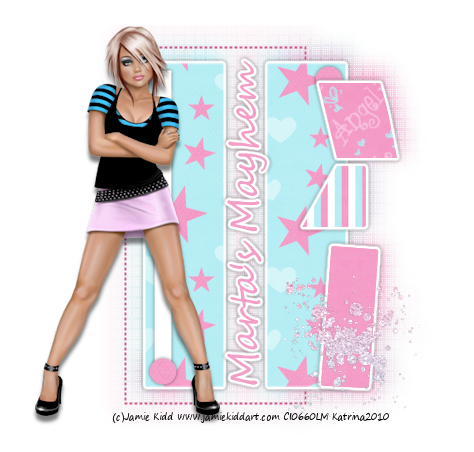

Click the tag to preview at full size. This tutorial was written by Marta on August 19, 2009. Any resemblance to any other tutorial is coincidental. Do not copy and paste this tutorial elsewhere on the net. Absolutely NO Scripting and/or translating of this tutorial.
For this tutorial you will need:
PSP
3 Images of choice
Font of choice (I used Mekanik LET Plain)
Mask - Mask 20-20
Xero - Fritillary
ScrapKit *Bliss* by Marie of Sky Scraps Designs.
You can purchase it HERE.
I am using the artwork of Jennifer Janesko, you can find her licensed art at CILM.
Let's get started:
ScrapKit *Bliss* by Marie of Sky Scraps Designs.
You can purchase it HERE.
I am using the artwork of Jennifer Janesko, you can find her licensed art at CILM.
Let's get started:
Open a new image 500 x 325. Selections/Select All. Copy paper5, right click on image, and paste into selection. Selections/Select None. Effects/Xero/Fritillary with default settings.
Open one image of choice. Open your mask of choice, Layers/New Mask Layer/From Image and find the mask in the drop down list. Delete mask layer, and merge group. Repeat this for the next two images. Copy & paste each image onto your original image. Arrange and resize as needed. When happy with size and placement, merge these 3 images. Adjust/Hue and Colorization/Colorize/H/0, S/0. Change the Blend Mode to Hard Light.
Using a font of your choice, I'm using Mekanik LET Plain, size 150, create as vector, foreground set to #FFFFFF, background set to #37A59F, type out the first letter of your name. Using the nodes, stretch across and down until you get the size you want. Change the Blend Mode to Hard Light. Add drop shadow H/2, V/2, Opacity/50, Blur/5, Color/#000000. Add inner bevel with the following settings: Bevel/2, Width/31, Smoothness/35, Depth/2, Ambiance/-8, Shininess/10, Color/#FFFFFF, Angle/315, Intensity/75, Elevation/20.
Choose font again, and type out the remaining letters of your name. Using the nodes, stretch across and down, until you get the size you want. Change the Blend Mode to Overlay. Add same drop shadow and inner bevel as above.
Choose font again, and type out the remaining letters of your name. Using the nodes, stretch across and down, until you get the size you want. Change the Blend Mode to Overlay. Add same drop shadow and inner bevel as above.
Copy & paste Element6 as a new layer and move to the right side of the canvas. Copy & paste Butterfly1 as a new layer and move to the left side of the canvas. Copy & paste Element13 as a new layer and move to the right side of the canvas. Add same drop shadow as above to all three layers.
Add any additional flowers, bows, ribbons, or elements of your choice.
Crop or resize to your liking. Add your copyright info, and watermark, and save as a jpg, png, or gif file.
That's it.. all done!
Add any additional flowers, bows, ribbons, or elements of your choice.
Crop or resize to your liking. Add your copyright info, and watermark, and save as a jpg, png, or gif file.
That's it.. all done!


1 comment:
Amazing tut hun! thanx so very much!
xoxoxo
Post a Comment